Oxygen (O2) sensors play a critical role in your vehicle's emissions system and engine performance. When these sensors fail, they can trigger check engine lights, reduce fuel efficiency, and cause your vehicle to run poorly. This comprehensive guide will walk you through the process of finding and replacing O2 sensors in your vehicle.
O2 Sensors and Their Function
O2 sensors are sophisticated devices that measure the amount of oxygen in your vehicle's exhaust stream. They help the engine control module (ECM) maintain the ideal air-fuel mixture for optimal combustion. Most modern vehicles have multiple O2 sensors positioned at different points in the exhaust system.
The typical lifespan of an O2 sensor ranges from 50,000 to 100,000 miles, though this varies based on driving conditions and vehicle make. Recognizing when a sensor needs replacement is essential for maintaining your vehicle's efficiency and reducing emissions.
Signs of a Failing O2 Sensor
Before attempting replacement, it's important to confirm that your O2 sensor actually needs replacing. Here are common indicators:
- Check engine light illuminated on your dashboard
- Reduced fuel economy (up to 15-20% decrease)
- Rough idling or stalling
- Failed emissions tests
- Poor acceleration or hesitation
- Black exhaust smoke or strong fuel odor
Using an OBD2 Scanner to Diagnose O2 Sensor Issues
One of the most effective tools for diagnosing O2 sensor problems is an OBD2 scanner. These devices connect to your vehicle's onboard diagnostic port and can retrieve error codes related to sensor malfunctions.
When connected, the scanner may display codes such as P0130-P0135 (Bank 1 Sensor 1), P0150-P0155 (Bank 2 Sensor 1), or P0136-P0141 (Bank 1 Sensor 2). These codes specifically identify issues with oxygen sensors. The scanner establishes communication with your vehicle's computer system and displays these codes on its screen, making it easier to pinpoint the exact sensor location that needs attention.
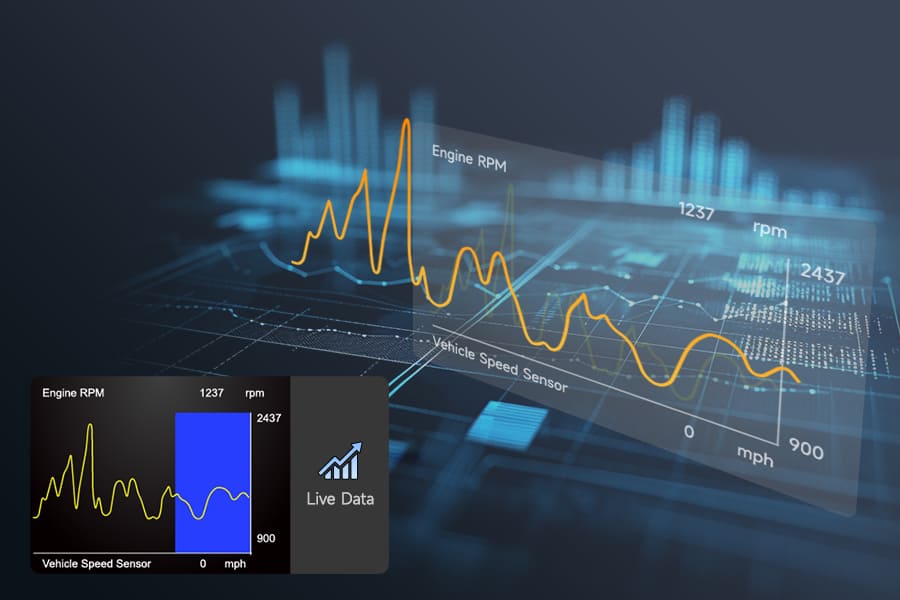
A P0135 code indicates an O2 sensor heater circuit malfunction in Bank 1, Sensor 1. Using the OBD2 scanner eliminates guesswork and helps you focus on the right component, saving both time and money on unnecessary repairs. Many modern scanners also provide live data streaming to help verify sensor operation before and after replacement.
Locating the O2 Sensor
Finding the right O2 sensor requires some basic knowledge of your car's exhaust system:
Check the vehicle repair manual for specific locations as they vary by make and model
Most vehicles have at least two O2 sensors:
The upstream sensor (before the catalytic converter)
The downstream sensor (after the catalytic converter)
V6 and V8 engines often have four sensors (one upstream and one downstream for each exhaust bank)
Look along the exhaust manifold (upstream) and along the exhaust pipe after the catalytic converter (downstream)
O2 sensors resemble spark plugs with electrical connectors and are threaded into the exhaust components
Tools Needed for O2 Sensor Replacement
Gathering the right tools before starting makes the replacement process much easier:
Socket wrench set (various sizes)
O2 sensor socket (specialized socket with a slot for sensor wiring)
Penetrating oil for rusty connections
Anti-seize compound for the new sensor threads
Wire brush for cleaning mounting areas
Jack and jack stands (if sensor is located underneath the vehicle)
Protective gloves and eye protection
Replacement Process for O2 Sensors
Preparation
Ensure the engine is completely cool before beginning work
Disconnect the negative terminal of your car battery
Raise and secure the vehicle using jack stands if the sensor is located underneath
Spray penetrating oil on the sensor connection if it appears rusted
Removal
Locate the electrical connector attached to the sensor and disconnect it (usually has a clip or tab that needs to be pressed)
Trace the wiring back to make sure you've identified the correct sensor
Use the O2 sensor socket to loosen the sensor by turning counterclockwise
If the sensor is seized, apply more penetrating oil and wait 15-20 minutes before trying again
Once loose, carefully unscrew the sensor completely from the exhaust component
Installation
Compare the new sensor with the old one to ensure it's an exact match (thread size, connector type, wire length)
Apply a small amount of anti-seize compound to the threads of the new sensor (avoid getting any on the sensor tip)
Thread the new sensor into the mounting location by hand first to prevent cross-threading
Use the socket wrench to tighten the sensor to manufacturer specifications (typically 30-45 ft-lbs of torque)
Reconnect the electrical connector ensuring it clicks securely into place
Ensure wires are routed away from hot exhaust components and moving parts
Lower the vehicle if it was raised
Reconnect the battery terminal
Testing After Replacement
Start the engine and check that the check engine light turns off
Use the OBD2 scanner to clear any error codes
Take the vehicle for a test drive to ensure proper operation
Monitor fuel economy over the next few tanks to confirm improvement
If the check engine light returns, scan for codes again to determine if there are additional issues
Common Mistakes to Avoid
Overtightening the sensor, which can damage threads or the sensor itself
Contaminating the sensor tip with oils, anti-seize compound, or even touching it with your fingers
Installing the wrong sensor for your specific vehicle make and model
Damaging the electrical connector during disconnection or reconnection
Forgetting to clear the error codes after replacement
Ignoring related issues that might be causing the sensor to fail repeatedly
Choosing the Right Replacement O2 Sensor
Selecting the appropriate sensor is crucial for proper system function:
Always use OEM (Original Equipment Manufacturer) parts when possible
Ensure the sensor is compatible with your specific make, model, and year
Pay attention to whether you need a heated or unheated sensor type
Consider upgraded sensors with improved durability if you frequently experience sensor failures
Verify the wiring connector style matches your vehicle's harness
Preventative Maintenance to Extend O2 Sensor Life
Regular engine tune-ups to maintain proper combustion
Use quality fuel with appropriate octane rating
Maintain a clean air filter and properly functioning fuel system
Address exhaust leaks promptly as they can damage sensors
Document replacement dates to track sensor lifespan
Fix any issues causing rich fuel mixtures, which can shorten sensor life
Conclusion
Replacing an O2 sensor is a manageable task for most people with basic mechanical skills and the right tools. By following this comprehensive guide, you can successfully find, remove, and install a new sensor, restoring your vehicle's performance, fuel efficiency, and emissions compliance. Remember that proper diagnosis is the first step to ensure you're addressing the actual problem, and using quality replacement parts will help prevent premature failures in the future.
FAQs
How can I tell which O2 sensor needs replacement if I have multiple sensors?
The OBD2 scanner will typically indicate the specific sensor location with codes like "Bank 1 Sensor 1" or "Bank 2 Sensor 2." Your vehicle manual will help you translate these positions to the physical locations on your car.
Can I drive my car with a faulty O2 sensor?
While the vehicle will still operate, a faulty sensor can decrease fuel efficiency by 10-20%, increase emissions, and potentially cause damage to your catalytic converter over time. It's best to address the issue promptly.
Why does my check engine light come back on after replacing the O2 sensor?
This could be due to improper installation, a wiring issue, a defective replacement sensor, or because the actual problem lies elsewhere in the fuel or exhaust system. Clear error codes with an OBD2 scanner and if they return, further diagnosis may be needed.


Leave a comment
This site is protected by hCaptcha and the hCaptcha Privacy Policy and Terms of Service apply.