
When your car starts misbehaving - such as when your check engine light illuminates, or you notice increased gas consumption--something could be amiss with its O2 sensor.
This diminutive component is integral to engine management by monitoring oxygen levels in exhaust emissions, helping the engine regulate fuel-air mixture and managing engine performance if they become impaired.
An OBD2 scanner is essential when diagnosing such issues with your engine.
How to Use an OBD-II Scanner to Connect and Diagnose an O2 Sensor

Before discussing how to use an OBD-II scanner to diagnose an O2 sensor, let's examine its operation.
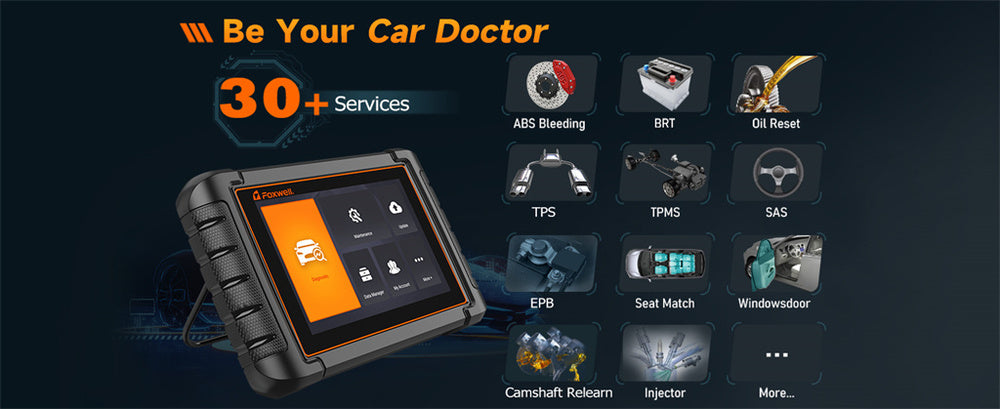
Whether using a FOXWELL NT909 scanner or another one, its operation should be straightforward and user-friendly—even those unfamiliar with mechanics should quickly become acquainted with it.
Locate an OBD-II Port: Vehicles manufactured after 1996 typically feature an OBD-II port under the dashboard near the steering wheel. Think of it like finding hidden treasure - once seen, your task is complete!
Plug in Your OBD-II Scanner: Once you've located the port, plug in your OBD-II scanner. Like charging your phone, ensuring the tight connection is all it takes for successful OBD-II scanning.
Start Your Car and Scanner: First, switch on both devices—your vehicle and scanner. Your scanner should lead you through an easy menu where you can select "O2 Sensor Test" to get you going.
Navigating Your Scanner: The FOXWELL NT909 features an intuitive user interface that allows users to quickly access live data from O2 sensors. No prior expertise is necessary—simply follow the on-screen prompts!
Reading and Analyzing O2 Sensor Data
Here's where things become interesting. Your O2 sensor emits a voltage signal that changes depending on how much oxygen is in your exhaust, much like our heartbeat does—reflecting what's going on inside your engine.
An effective O2 sensor should exhibit a voltage between 0.1V and 0.9V, with regular fluctuations like an unstable drumbeat. If it flat-lines at either extreme, that is an alarm bell.
Keep an eye on how quickly the sensor responds. In an ideal world, your sensor should switch promptly between high and low voltage multiple times per second; otherwise, that could be a telltale sign that it has reached the end of the cycle. its
But sensor data alone won't tell the whole tale. Additionally, you should check both Short-Term Fuel Trim (STFT) and Long-Term Fuel Trim (LTFT) values to see how your car's computer adjusts the fuel mixture.
If an O2 sensor is off, these values could fluctuate wildly as the computer attempts to find equilibrium on an off-balance teeter-totter—like your engine trying to find equilibrium on a tilting scale!
How to Interpret O2 Sensor-Related Trouble Codes
When diagnosing O2 sensor issues using an OBD-II scanner, understanding trouble codes is paramount.
They offer specific insight into what may be wrong with your vehicle, providing critical clues as to whether the O2 sensor may be at fault. Let's go over how you can recognize and interpret them here.
Understanding the Trouble Codes
Once connected and running a diagnostic, an OBD-II scanner will pull Diagnostic Trouble Codes (DTCs) from your vehicle's computer.
These DTCs typically start with P for powertrain issues followed by four digits; examples could include codes like P0130 or P71 for oxygen sensor problems.
P0130: This error code denotes a problem in Bank 1, Sensor 1. Bank 1 refers to the engine side with cylinder 1, while Sensor 1 denotes the O2 sensor before the catalytic converter. Often, this indicates an issue with the sensor itself, its wiring connection, or heater circuitry.
P0171: This error indicates that Bank 1 of your engine is running too lean (too much air, not enough fuel).
A faulty O2 sensor could be at fault by providing incorrect data to the Engine Control Unit (ECU), leading it to adjust the air-fuel ratio improperly. Nonetheless, other issues, such as vacuum leaks or problems with fuel injectors, could also cause this code.
Steps to Diagnose the Trouble Codes
Once you've retrieved your codes from your scanner, the first step should be examining their descriptions.
Many scanners, such as the FOXWELL NT909, provide brief explanations of what each code stands for; otherwise, you can easily find this information online or in a repair manual.
- Once You Identify Code P0130: Once you've detected Code P0130, your next step should be to inspect the wiring and connections related to the O2 sensor.
Check for signs of frayed wires or loose connectors—sometimes, simply reconnecting or tightening up loose connections will solve your problems!
- Test the O2 Sensor Heater Circuit: Many O2 sensors feature an integral heater to help them reach operating temperature faster.
If your trouble code (P0135, for instance) indicates an issue in its heater circuit, use a multimeter to check continuity.
If no continuity can be seen, then chances are high that its heater has become defective and needs replacing as soon as possible.
- Verify Live Data to Confirm Issue: Once you identify a trouble code, it's helpful to use a scanner and monitor live O2 sensor data in real-time to confirm whether or not the sensor itself is at fault—abnormal voltage readings or slow response times could indicate failure of its parts.
Common Misdiagnosis to Avoid
It is essential to be aware that O2 sensor-related codes do not always indicate a malfunction in the sensor itself; here are some common misdiagnoses you should avoid:
- Do Not Ignore Other Potential Causes: Codes like P0171 may suggest O2 sensor problems, but they could also stem from vacuum leakage, dirty fuel injectors or an obstruction in the filter system.
Before replacing the sensor with another one, conduct a comprehensive inspection to rule out other potential sources.
- Overlooking Exhaust Leaks: Take note if you suspect an exhaust leak near the O2 sensor is causing it to read incorrectly and generate false trouble codes.
Listen for any hissing noises or visible damage in the exhaust system as indicators of this possible problem.
- Skip the Basics: Sometimes, the solution lies within your reach.
Before diving into more involved diagnostics, first, check that your air filter is clean, the fuel cap is tightened securely, and the fuel quality hasn't decreased over time.
These simple things help trigger codes that appear sensor-related but may be caused by something simple like air quality or fuel quality issues.
Follow these steps to efficiently determine whether your O2 sensor is genuinely at fault or whether there's another cause behind its malfunctioning.
This will ensure that you will save time and money by replacing unnecessary sensors.
Here Are Key Indicators of an Effective O2 Sensor
How Can I Tell If My O2 Sensor Is Doing Its Job?
So, how do you tell if your O2 sensor is doing its job effectively? Below are the indicators:
Steady Voltage Fluctuations: Your sensor should fluctuate between 0.1V and 0.9V consistently—any deviations indicate an issue. If it becomes stuck at either end, this is a telltale sign that something is wrong with its operation.
Quick Response Time: An efficient sensor should quickly switch between high and low voltage. If it takes too long to respond, it could indicate wear-and-tear damage to its components.
Balanced Fuel Trim Values: If the STFT and LTFT values appear stable, your sensor is likely functioning effectively.

O2 Sensor Faults and Their Symptoms
O2 sensors can fail in various ways. Contamination with oil or coolant could skew readings, or they wear down over time, leading to slower response times.
In extreme cases, the heater circuit within a sensor could fail, leading to increased emissions and decreased fuel economy.
Conclusion
Utilizing an OBD-II scanner to check your O2 sensor is an effective way of quickly diagnosing potential issues before they escalate further.
With some knowledge and the proper tools, you can keep your engine running efficiently while saving yourself from expensive visits to a mechanic.
Regular checks with an OBD-II scanner will allow you to catch issues early so your car stays in prime condition.
FAQs
How to read O2 sensor data on a scan tool?
To read O2 sensor data on a scan tool, connect the scanner to the OBD-II port, select the “O2 Sensor Test” or “Live Data” option, and monitor the voltage readings. A healthy sensor should show fluctuating voltage between 0.1V and 0.9V.
What are signs of a bad O2 sensor?
Signs of a bad O2 sensor include poor fuel economy, a rough idle, the check engine light coming on, and failed emissions tests. You might also notice engine misfires or hesitation during acceleration.
How do you read an O2 sensor with a multimeter?
To read an O2 sensor with a multimeter, set the multimeter to the DC voltage setting. Connect the probes to the sensor’s signal wire and ground, then start the engine. A functioning sensor should show a fluctuating voltage between 0.1V and 0.9V.
Leave a comment
This site is protected by hCaptcha and the hCaptcha Privacy Policy and Terms of Service apply.